Verwaltung von Kerneln und Terminals
Verwaltung von Kerneln und Terminals in Jupyter Notebooks
Jupyter Notebooks werden von Kerneln angetrieben, die den von dir geschriebenen Code ausführen, und von Terminals, die eine Befehlszeilenschnittstelle für fortgeschrittenere Interaktionen bieten. Diese Ressourcen effektiv zu verwalten ist entscheidend, um das Beste aus Jupyter herauszuholen.
Was ist ein Kernel?
Ein Kernel ist der Rechenmotor, der deinen Code ausführt. Jedes Jupyter Notebook ist mit einem Kernel verbunden, der den Code in den Codezellen des Notebooks ausführt.
- Kernel pro Notebook: Jedes Notebook arbeitet unabhängig mit seinem eigenen Kernel. Das bedeutet, dass du mehrere Notebooks gleichzeitig ausführen kannst, jedes mit seinem eigenen Ausführungszustand.
- Sprachunterstützung: Jupyter unterstützt verschiedene Kerne für verschiedene Sprachen. Zum Beispiel ist der häufigste Kernel der Python-Kernel (IPython), aber Jupyter unterstützt auch R, Julia und andere Programmiersprachen.
Verwaltung von Kerneln
1. Starten und Stoppen von Kerneln
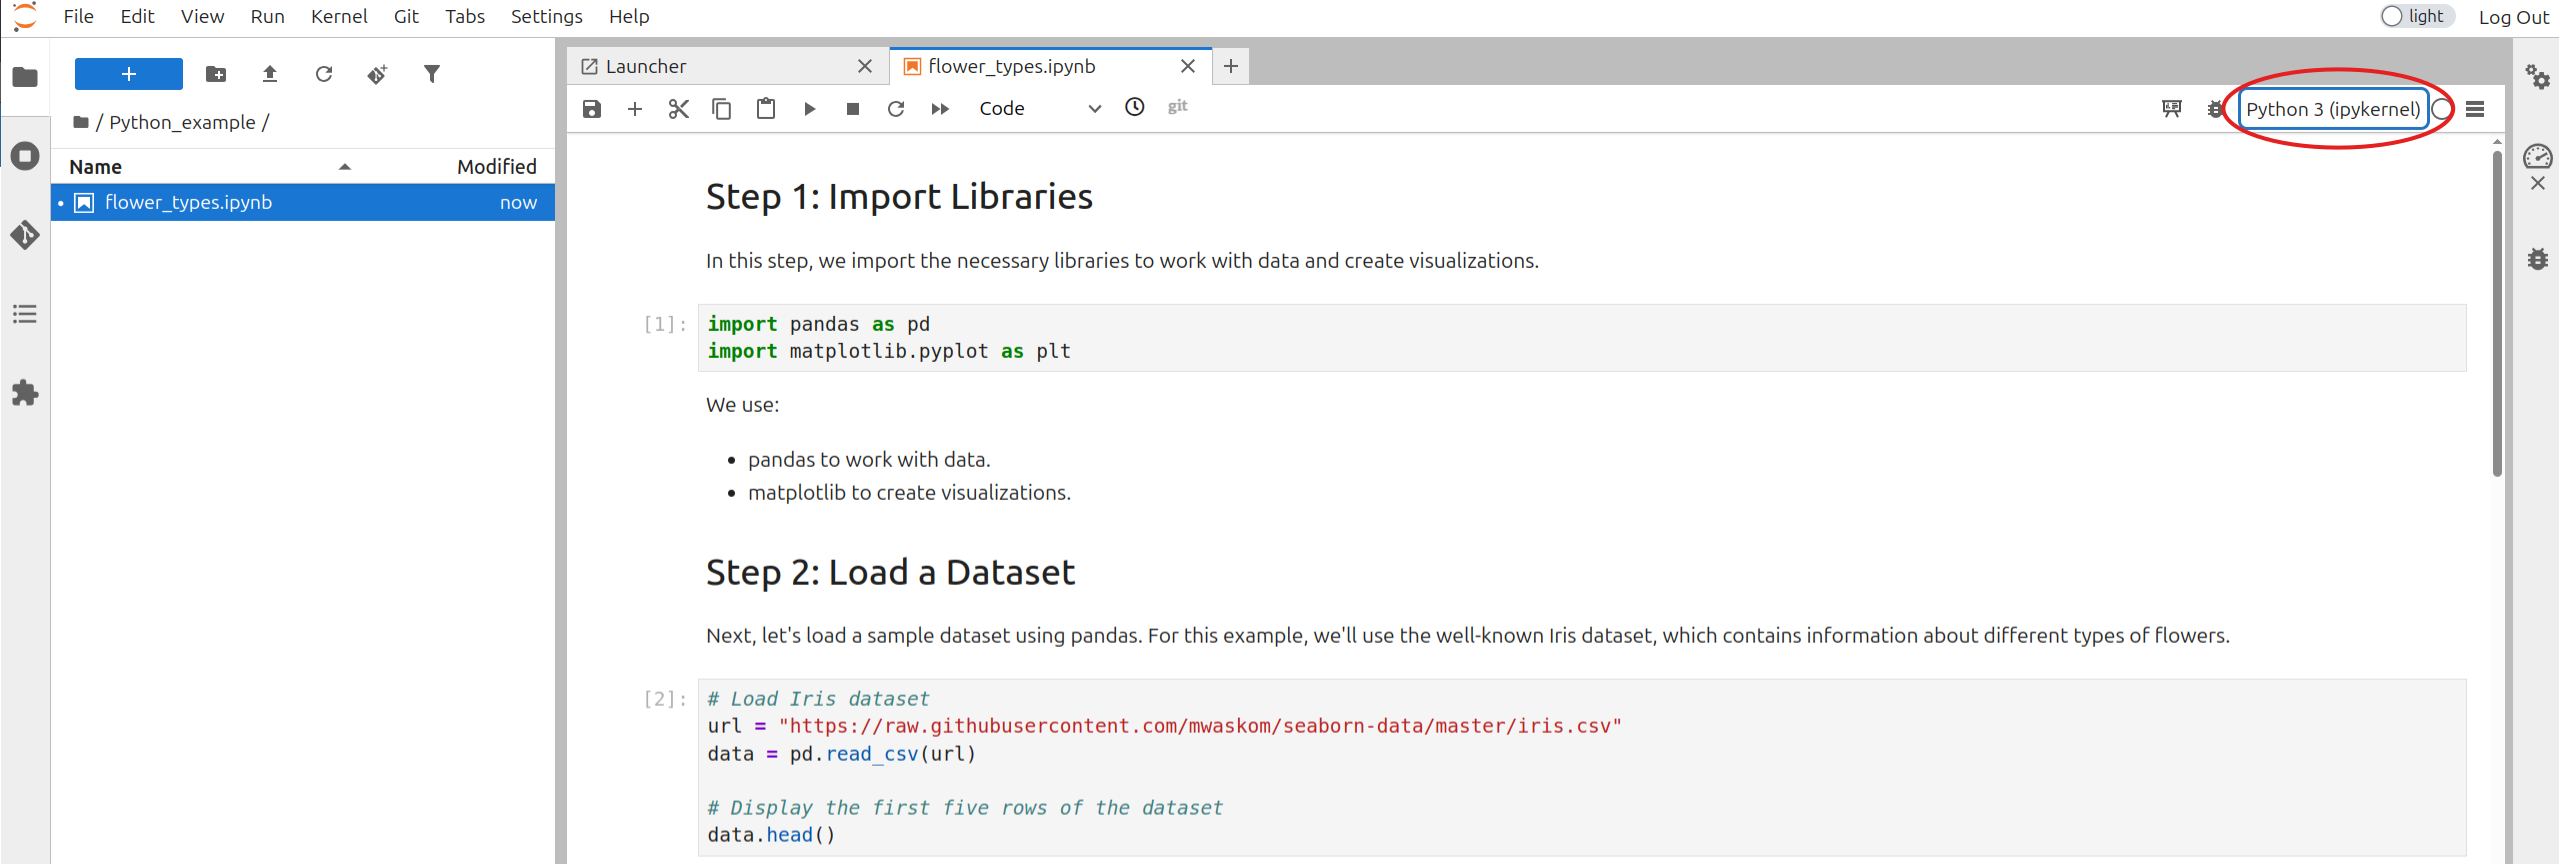
Wenn du ein Notebook öffnest, wird im Hintergrund automatisch ein Kernel gestartet. Du kannst seinen Status in der oberen rechten Ecke der Notebook-Oberfläche sehen.
Du kannst den Kernel vom Kernel-Menü aus neu starten, unterbrechen oder herunterfahren.
- Kernel neu starten: Setzt den Kernel zurück und löscht alle gespeicherten Variablen, sodass du eine saubere Umgebung erhältst.
- Kernel unterbrechen: Unterbricht jede laufende Ausführung, was nützlich ist, wenn dein Code in einer langen Schleife stecken bleibt.
- Kernel herunterfahren: Stoppt den Kernel vollständig. Das ist nützlich, wenn du mit dem Notebook fertig bist oder Systemressourcen freigeben möchtest.
2. Überwachung von Kerneln
Du kannst alle aktiven Kerne überwachen, indem du auf die Registerkarte Kernel in JupyterLab klickst oder die Registerkarte Ausführen in Jupyter Notebook anzeigst. So kannst du sehen, welche Notebooks aktiv sind und Systemressourcen verbrauchen.
3. Wechseln von Kerneln
Du kannst zwischen verschiedenen Kerneln in einem Notebook wechseln. Zum Beispiel, wenn du ein Python-Notebook hast, aber R-Code ausführen möchtest, kannst du den Kernel über das Kernel-Menü > Kernel ändern und die gewünschte Sprache auswählen.
Was ist ein Terminal?
Ein Terminal in Jupyter ist eine vollwertige Befehlszeilenschnittstelle, ähnlich wie ein Terminal oder eine Eingabeaufforderung in deinem Betriebssystem.
- Zugang zu Terminals: Du kannst ein Terminal öffnen, indem du die Option Terminal im JupyterLab-Launcher oder über das Hauptdashboard in Jupyter Notebook auswählst.
- Multitasking: Genau wie du mehrere Notebooks gleichzeitig geöffnet haben kannst, kannst du auch mehrere Terminals gleichzeitig ausführen. So kannst du verschiedene Prozesse verwalten oder Shell-Befehle ausführen, während du in deinen Notebooks arbeitest.
Verwendung von Terminals für fortgeschrittene Verwaltung
1. Ausführen von Shell-Befehlen
Terminals ermöglichen es dir, Shell-Befehle auszuführen, Dateien zu verwalten, Pakete zu installieren und systemweite Aufgaben auszuführen. Zum Beispiel kannst du pip install verwenden, um neue Python-Pakete zu installieren (siehe Benutzerdefinierte Umgebungen) oder das Dateisystem mit ls, cd oder mkdir durchsuchen.
2. Fortgeschrittene Paketverwaltung
Während Notebooks es ermöglichen, Shell-Befehle auszuführen (indem sie mit ! vorangestellt werden), bieten Terminals eine natürlichere und funktionsreichere Schnittstelle zur Verwaltung von Umgebungen, zum Aktualisieren von Software oder zum Beheben von Problemen.
3. Ausführen von Python-Skripten
Du kannst eigenständige Python-Skripte oder andere Programme direkt vom Terminal ausführen, indem du zum richtigen Verzeichnis navigierst und python script_name.py eingibst. Das ist nützlich, um größere Skripte oder Batch-Jobs außerhalb des Notebooks auszuführen.
Warum ist die Verwaltung von Kerneln und Terminals wichtig?
- Speicher- und Ressourcenverwaltung: Jeder Kernel verbraucht Speicher und Rechenressourcen, daher ist es wichtig, ungenutzte Kerne herunterzufahren. So bleibt deine Umgebung schnell und reaktionsfähig.
- Effizienter Workflow: Das Ausführen mehrerer Terminals neben Notebooks ermöglicht einen flexiblen Workflow. Du kannst Systembefehle ausführen, Dateien verwalten oder Abhängigkeiten installieren, ohne die Jupyter-Umgebung zu verlassen.
Durch die effektive Verwaltung von Kerneln und Terminals kannst du deinen Workflow optimieren, die Leistung maximieren und die Funktionalität deiner Jupyter-Umgebung erweitern.